
Larry’s Amelia Earhart Vega Model
|
Larry Z. Daily’s Personal Page Larry’s Amelia Earhart Vega Model |
| My route to this build was somewhat long and convoluted. I am, for the most part, a model
railroader (see my Piedmont Subdivision page). Scrolling through
eBay one afternoon, however, I stumbled across a listing for a kit from AHM’s All the World’s Aircraft
series. It purported to be an HO scale model of Wiley Post’s Lockheed Vega Winnie Mae. I’m not sure why
(except maybe the novelty of finding an HO scale airplane - there don’t seem to be a lot of those), but I bought the kit. When I
was ready to start assembling it, I went online to do a little research. I learned a great deal about Post and
Winnie Mae, but then I found a comment that the kit was undersized. So, I looked up the wingspan of a Vega and
measured the model. Sure enough, it was too small. As I recall, the actual scale of the kit was about 1/100 (HO scale is 1/87). My interest had been piqued, however, and I started looking for a larger scale model of a Vega. I found an eBay listing for a 1/48 scale Winnie Mae by AMT. It was cheap, so I clicked on “Buy It Now” and snapped it up. When it arrived, I was a bit disappointed. The airframe itself seemed ok, but the decals were badly yellowed and missing many of the markings that were plainly visible in photos that I found of Winnie Mae. Worse, the “clear” parts had a pronounced pink tint to them. Nothing I ever found mentioned that Winnie Mae had pink windows. I decided to focus on the easy problem first; I went online to find replacement decals. I discovered Red Pegasus decals and their set for Winnie Mae. Right below them, however, was listed a set for Amelia Earhart’s Vegas. I’m not sure why, but I ordered both sets. I still wasn’t sure what to do about the windows. I considered ordering another AMT kit, but I wasn’t sure how to ensure that I’d get one with clear parts that were actually clear. As I pondered that, though, I found myself reading more and more about Amelia Earhart. As I learned more about her, the project slowly shifted from modeling Winnie Mae to modeling Earhart’s trans-Atlantic Vega. I also discovered that Lindberg had once offered a 1/48 scale Vega, so I began searching for one. It didn’t take long to have one in hand. With two kits and a set of decals in hand, I was ready to start. The BuildThe big question that I had to face was which kit to use as the base kit. Many of the sites that I found online gave the nod to
the AMT kit. It does have detail on the top of the wing that is missing from the Lindberg kit. It also has a full set of windows,
but most of the windows on Amelia’s plane had been blanked out. A big selling point to the AMT kit (to me, anyway), was that
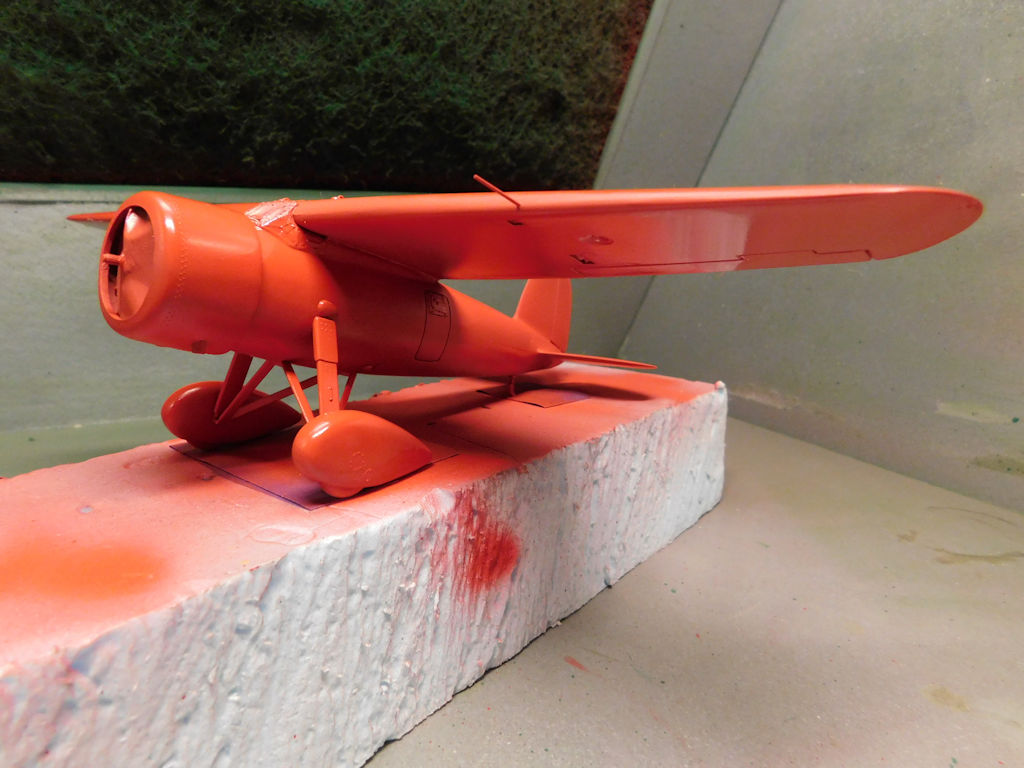
the engine cowl was separate from the main fuselage (set photo 1 below). My AMT kit, though, had those awful pink windows. The Lindberg
kit had clear windows and most of the cabin windows weren’t molded as part of the fuselage, which would save me the time and effort
of blanking them out. On the other hand, it was missing the wing top details and the cowl was molded as part of the main fuselage. I
decided to use the Lindberg kit as the base kit, but to cut off the molded on cowl and replace it with a scratchbuilt bulkead and the cowl
from the AMT kit. I also decided to replace the rudimentary engine casting with a resin engine from Vector. |
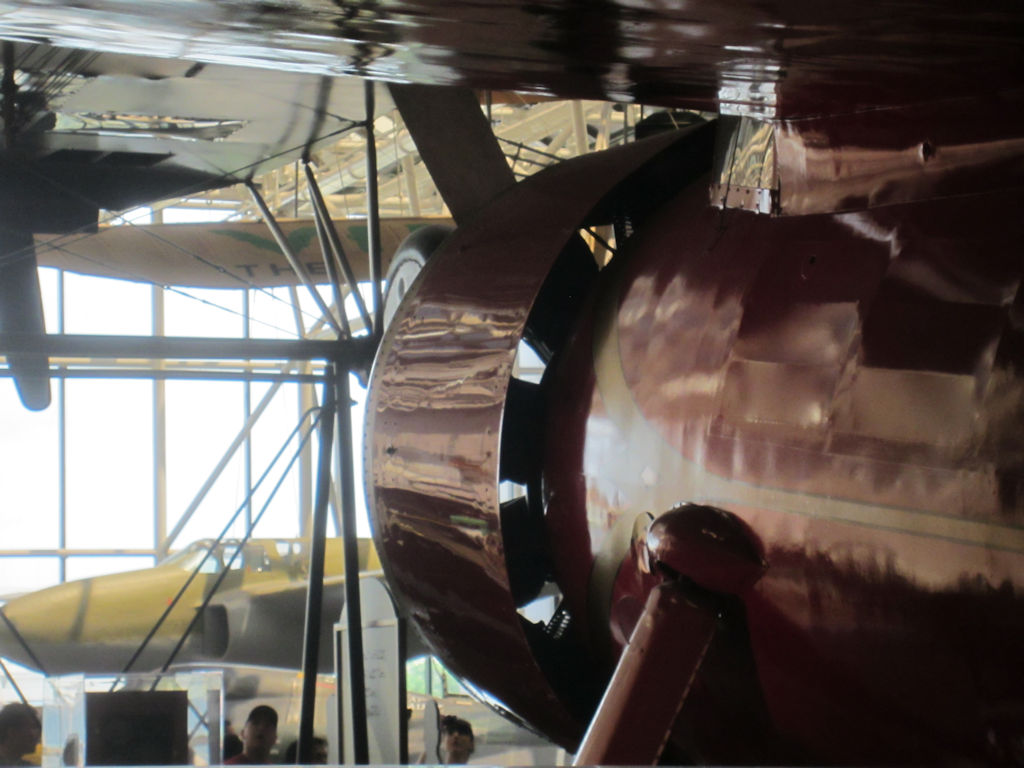 |
(1) Earhart’s NR-7952 is in the National Air and Space Museum in Washington, DC (so, for that matter, is Winnie Mae).
This photo, which I took on a trip just to see Earhart’s plane, shows why I wanted the separate cowl of the AMT kit. I really
feel the need to capture this appearance in my model. |
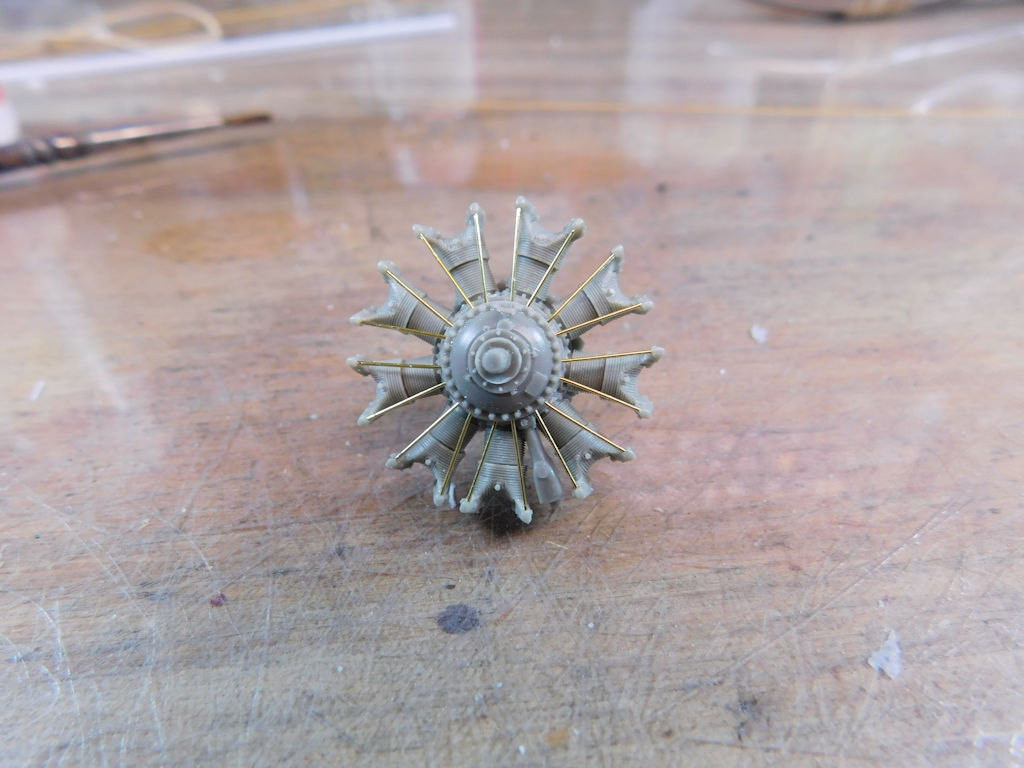 |
(2) The first step was to assemble enough of the Vector Prat and Whitney engine to test its fit into the kit
cowling. |
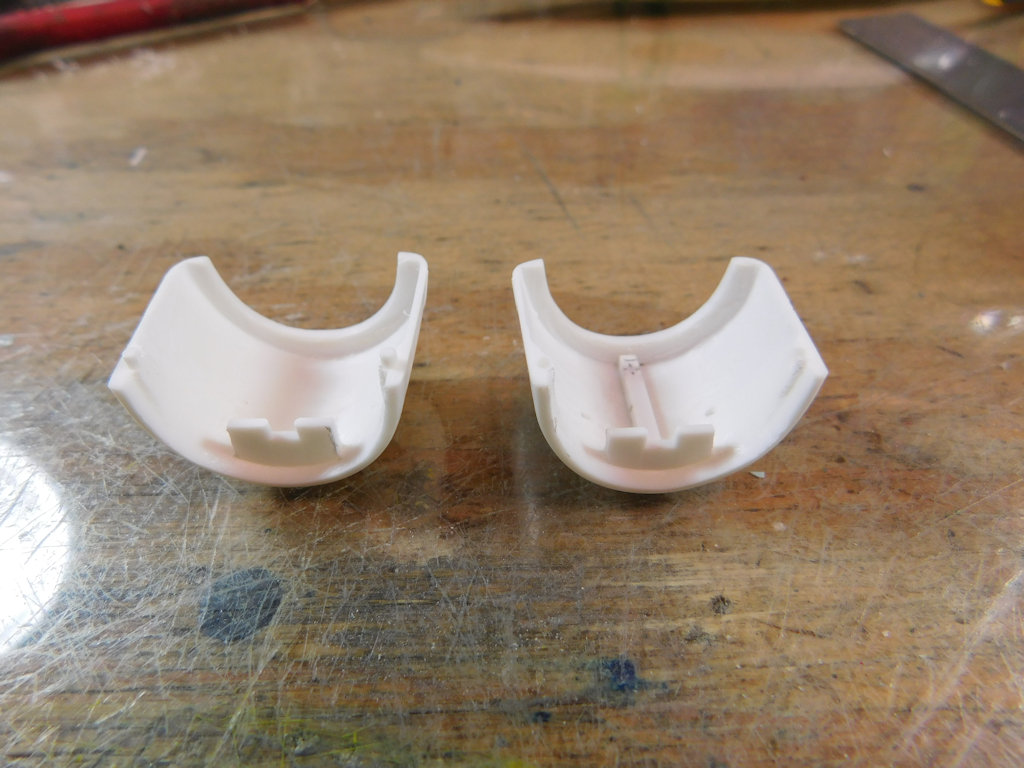 |
(3) To get the new engine to fit required thinning the material inside the cowling with my Dremel. Work slowly and check the fit often;
you don’t want to go all the way through the cowling. I also cut away some of the fuselage attachment points to try and open
up the view through the cowling and I added a mount for the engine made from .060x.080 styrene strip. |
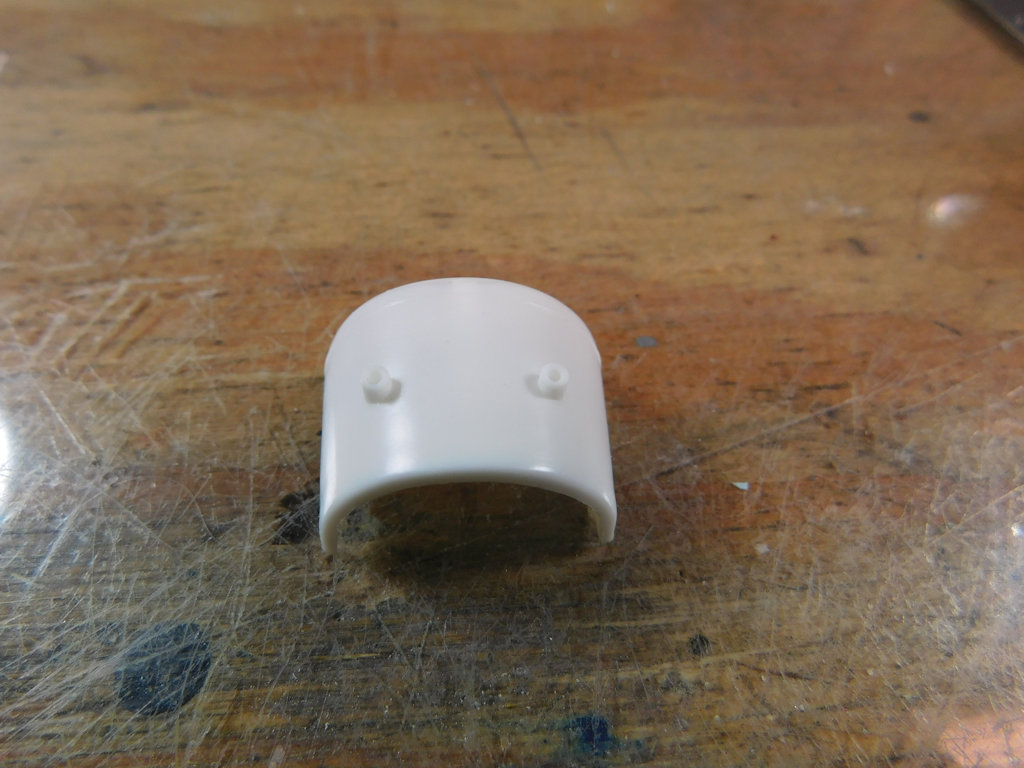 |
(4) At the time of her trans-Atlantic flight, Earhart’s Vega had the short engine exhausts as
modeled on the AMT kit. I though about replacing the plastic with brass or aluminum tubing, but noticed that the
parts had a slight taper that would be hard to reproduce. So, I left them in place. I did open them up with a number
55 drill. |
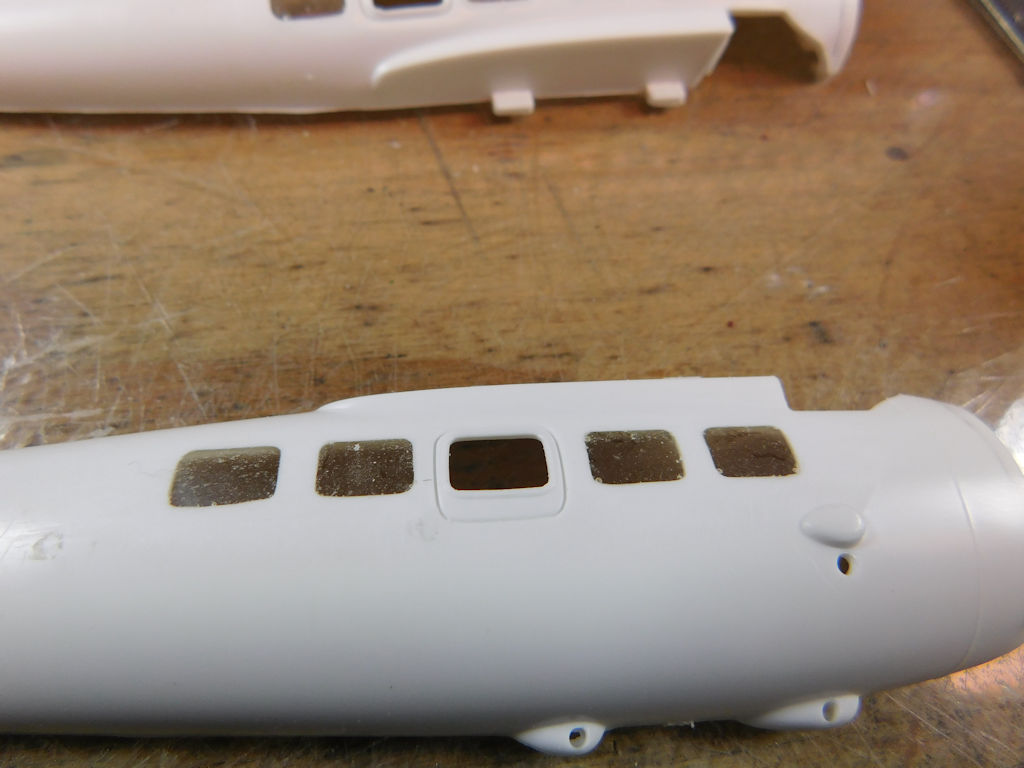 |
(5) Another issue was all those windows. Most of the windows on Earhart’s Vega had been
blanked out. I didn’t relish the thought of trying to make window blanks for all those windows and the clear
parts that come with the kit are not flush fitting. So, I carved off the raised trim around the windows to be removed.
Then I put Scotch tape over the outside of the windows and filled the openings from inside with casting resin. I didn’t
worry about trying to get them nice and clear; I’ll just be painting over them anyway. |
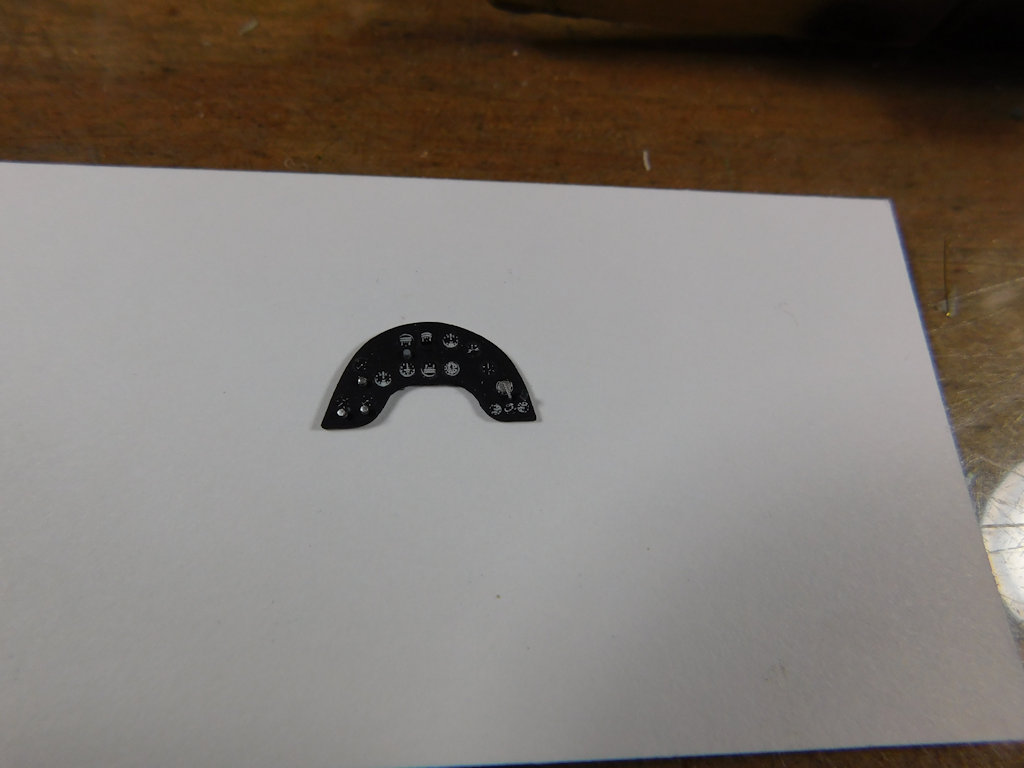 |
(6) I then turned my attention to the cockpit. The AMT cockpit is something of a blank canvas;
there’s really nothing to it other than a vaguely seat-shaped thing on the bulkhead and a male pilot figure.
I couldn’t use the pilot (Amelia was, well, you know, a woman), so the seat thing had to go. The Air and
Space Museum’s Web site has one of those Flash player apps that lets you look into the cockpit of Earhart’s
Vega. The viewpoint doesn’t make it easy to work out dimensions, but all I really wanted to do was to suggest that
something was in there. Here’s my representation of the instrument panel. |
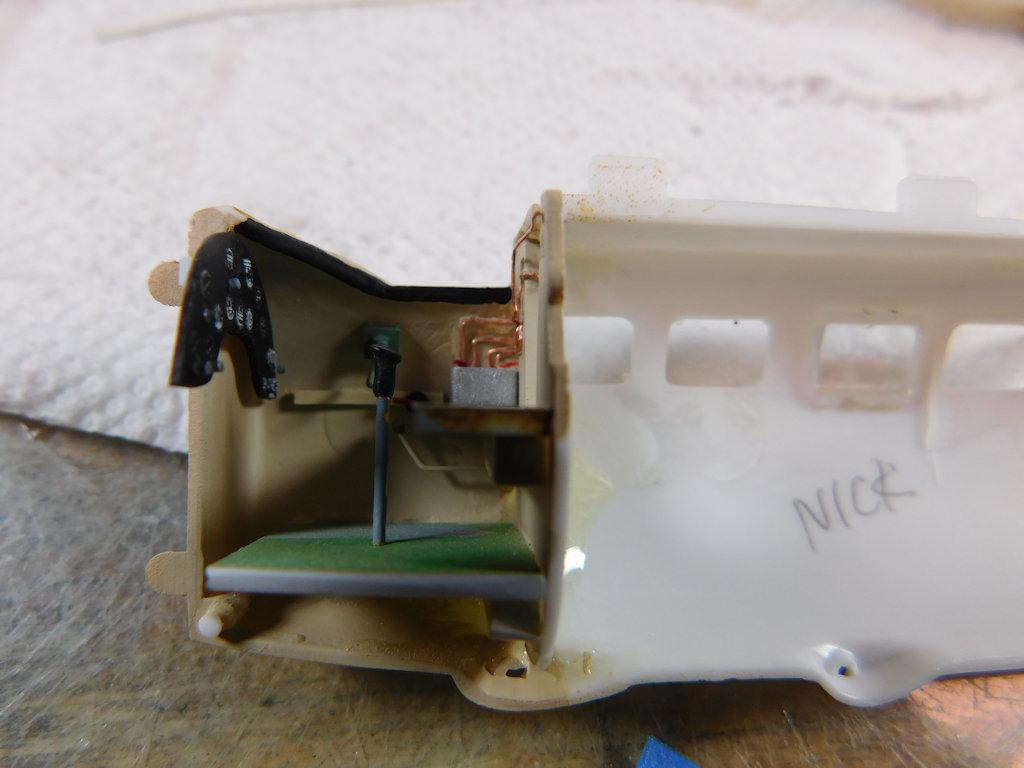 |
(7) Here’s the right side of the cockpit. As I worked, I dry fit the fuselage halves together to
make sure I wasn’t making the fit any worse. I’ll put this out there for anyone listening: I’d pay
decent money for a modern, newly-tooled, well-engineered 1/48 scale kit of a Vega. And if it was set up so that it could
be built to represent both of Earhart’s Vegas and Post’s Winnie Mae, I’d most likely buy three
as soon as I could get my hands on them. |
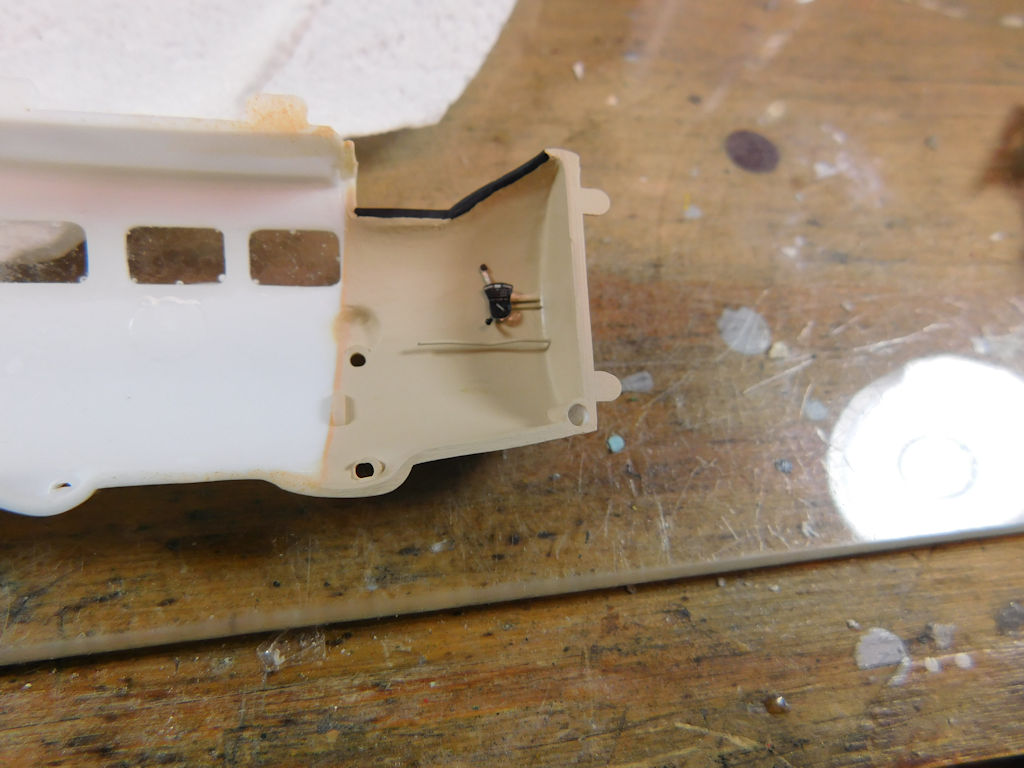 |
(8) Here’s the left side of the cockpit. There wasn’t as much over there. I used a photoetch throttle quadrant
from a Mustang. I know it’s not right, but the lighting in the NASM applet made it difficult to see exactly what the real
part looked like. |
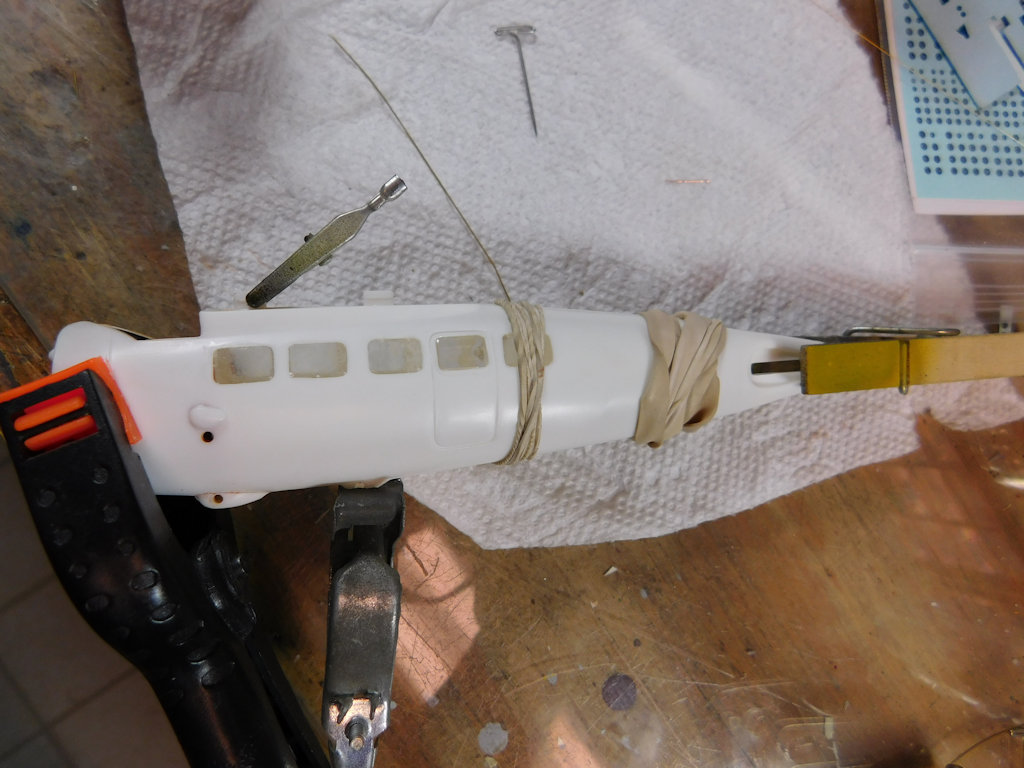 |
(9) Once I felt like I had enough detail in the cockpit, I closed up the fuselage. I applied Testors liquid cement to both
halves, stuck them together, and then used assorted rubber bands and clamps to force things into alignment. Then I snapped this photo.
Then I said many, many bad words. Those fairings on the bottom of the fuslage that mark the attachment points for the landing gear? Earhart’s
Vega didn’t have them. I knew that. It would have been far easier to remove them and fill the space before joining the fuselage halves. |
 |
(10) While the fuselage joint was drying (and I was trying to figure what to do with those
pesky fairings), I opened up the inspection ports on the bottom of the wings. I also marked the locations where
I’ll mount MV Products lenses to represent the retractable landing lights. |
 |
(11) I used scrap styrene and leftover bits from my spares box to provide detail in the inspection ports.
These bits aren’t a perfect match, but they’ll do. |
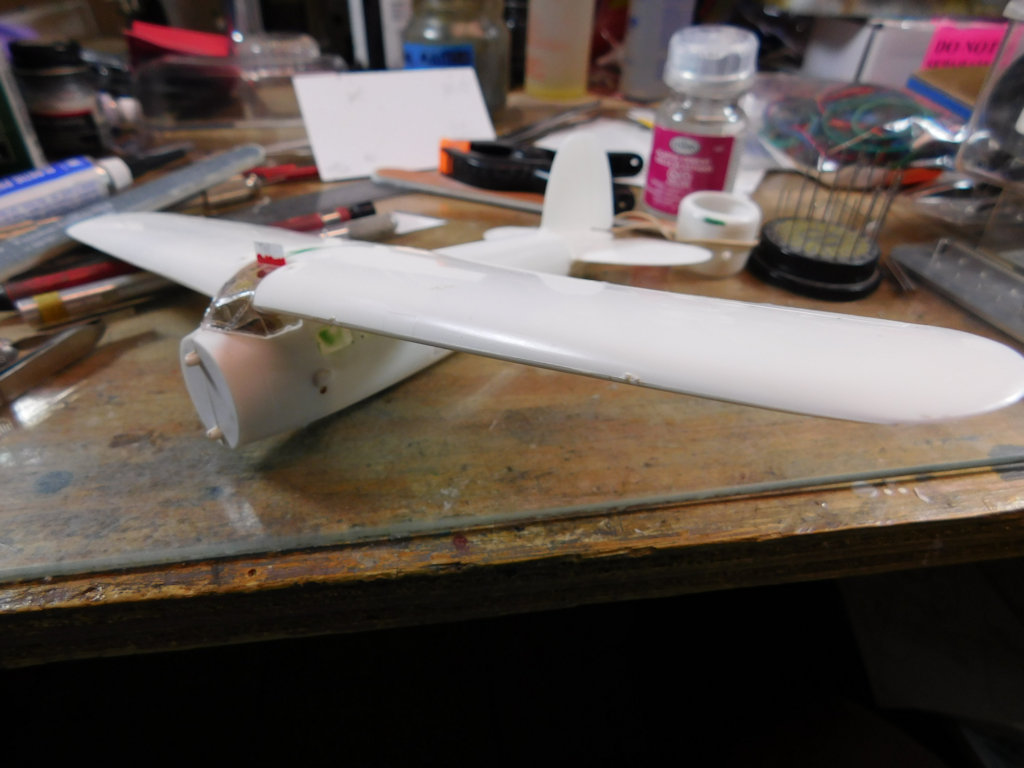 |
(12) Well, this thing is starting to look like a Vega. I’m not sure whether that’s because of the kit or in spite of
it. Despite determined sanding and aggressive clamping, there was still a significant gap between the forward edge of the wing and the rear of
the top of the canopy. I was able to turn that bug into a feature, however. As I was studying the situation, I noted that the gaping space in the
wing was clearly visible through the canopy. In my photos of Earhart’s aircraft, there’s a bulkhead there. So, I cut a piece of .010
styrene sheet, painted it red to match my photos and slipped it through the gap between the wing and the canopy. After the cement sets up hard,
I’ll trim it off flush with the wing. A bit of sanding should then blend it in. |
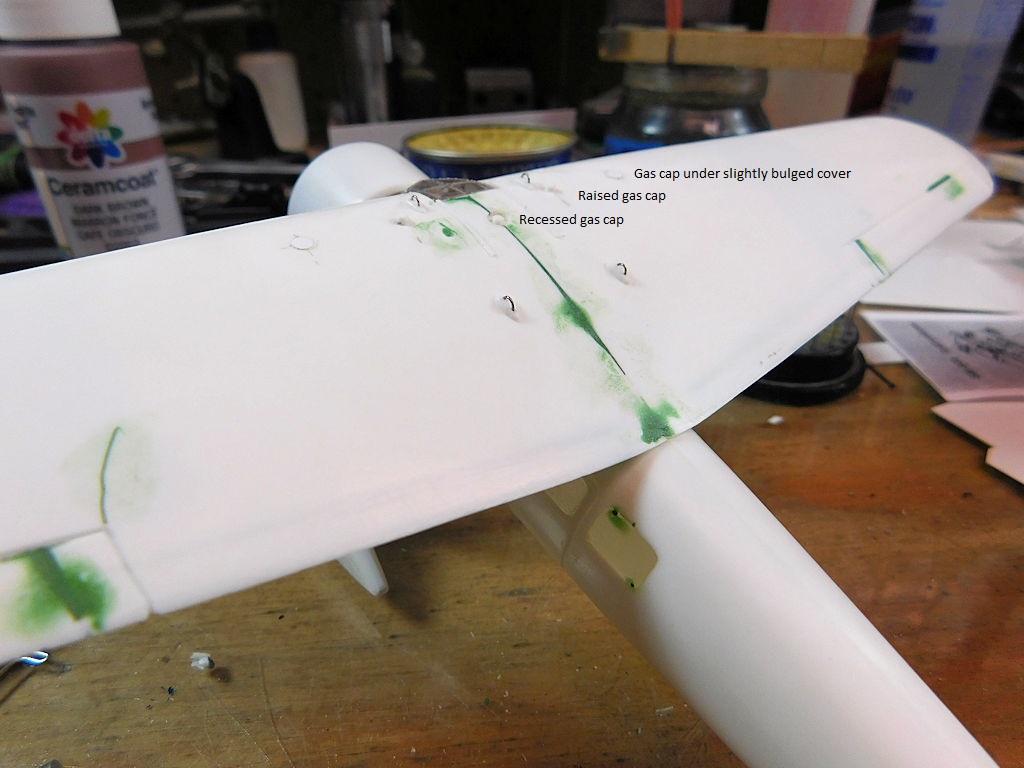 |
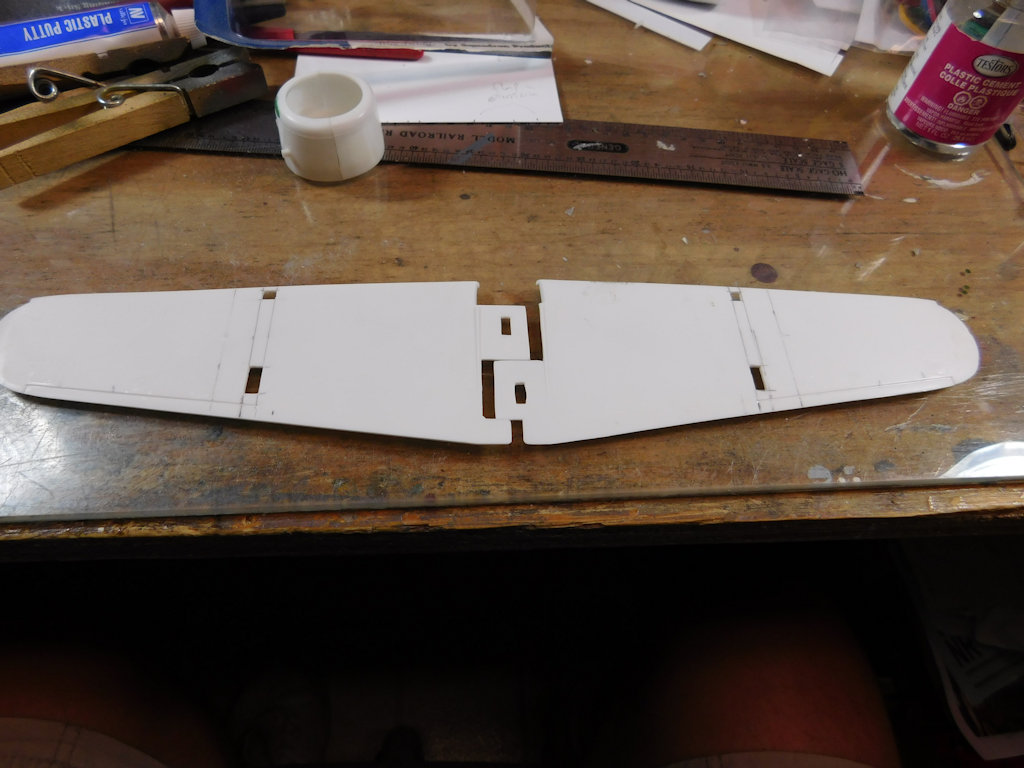
(13) Eugene Millikin published an article on Earhart’s Vegas in the Winter 1979 edition of the IPMS/USA Quarterly. I followed that
to model the wingtop details since it is difficult to get a clear shot of them at NASM. The various gas caps and covers were made from bits of styrene rod.
The AMT kit included 3 pairs of teardrop-shaped fairings; I carved of the middle one on each side. I also rescribed the flaps to better match the prototype. |
 |
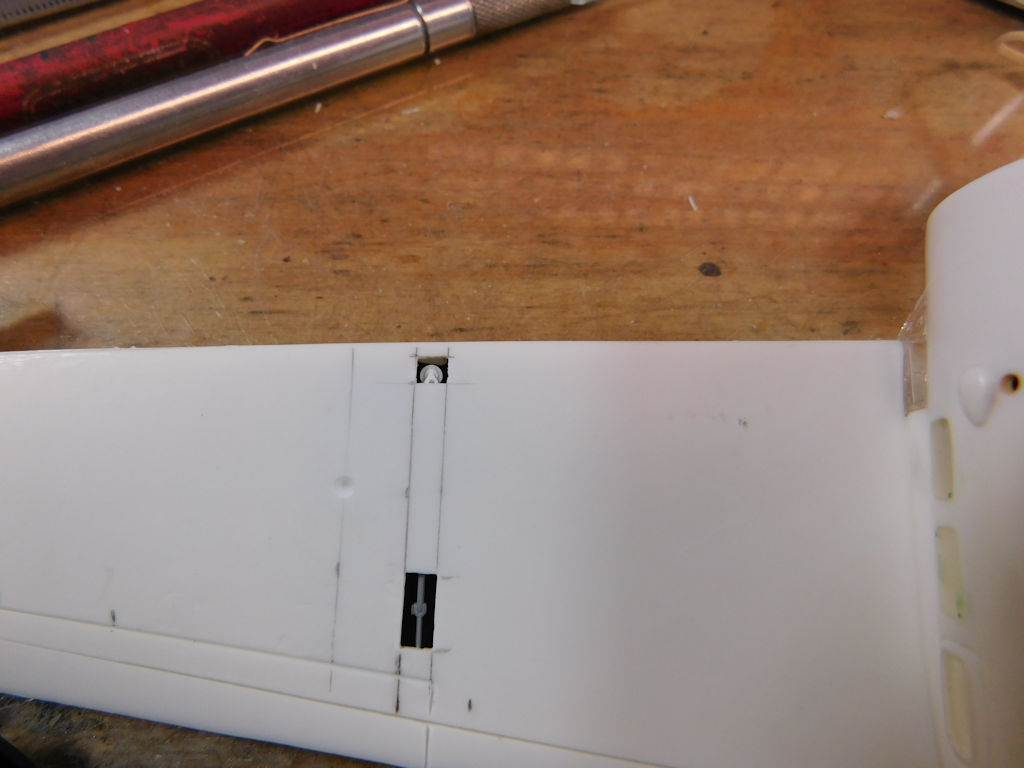
(14) I did end up carving off the incorrect fairings on the bottom of the aircraft before I mounted the wing. I used a fine-tooth
razor saw to remove the fairings while trying to preserve as much of the fuslage as possible. The question then became how to fill the holes. Since
the wing wasn’t on yet, I drilled a fairly large hole between the locator tabs on top of the fuselage and fed patches made of .010 styrene sheet
through. It was a bear trying to hold them in place while the cement set up, so I’d strongly recommend dealing with them before joining the
fuselage halves. In any case, removing the fairings meant that the braces for the landing gear were now too short. I made new ones out of
strip styrene. |
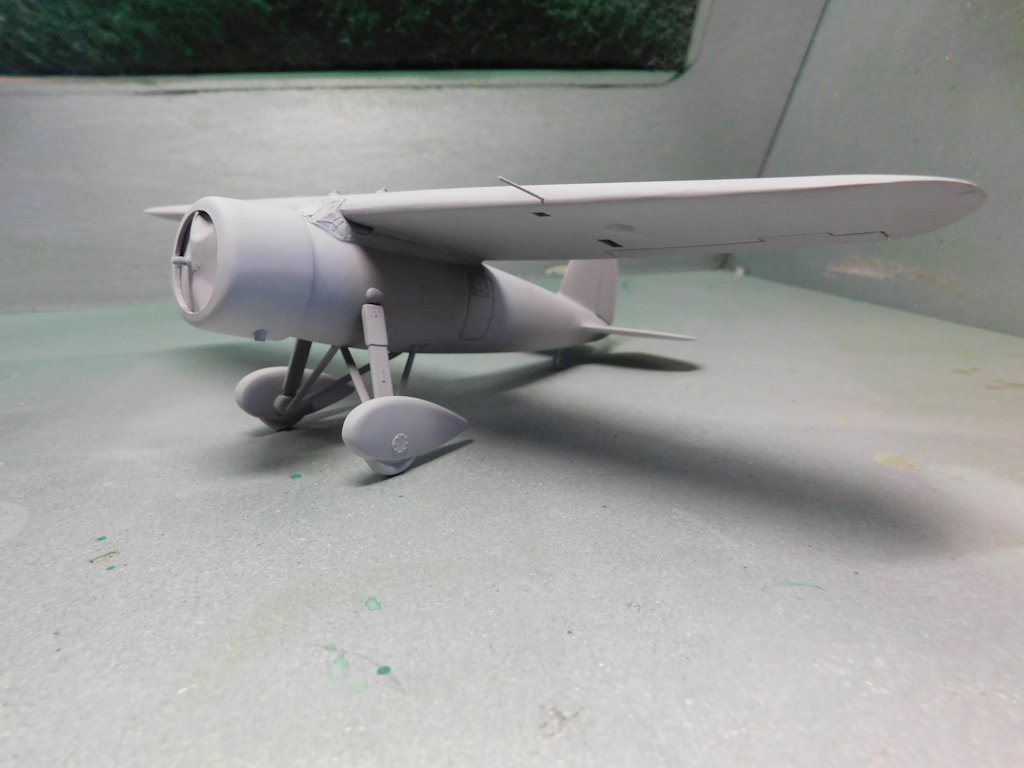 |
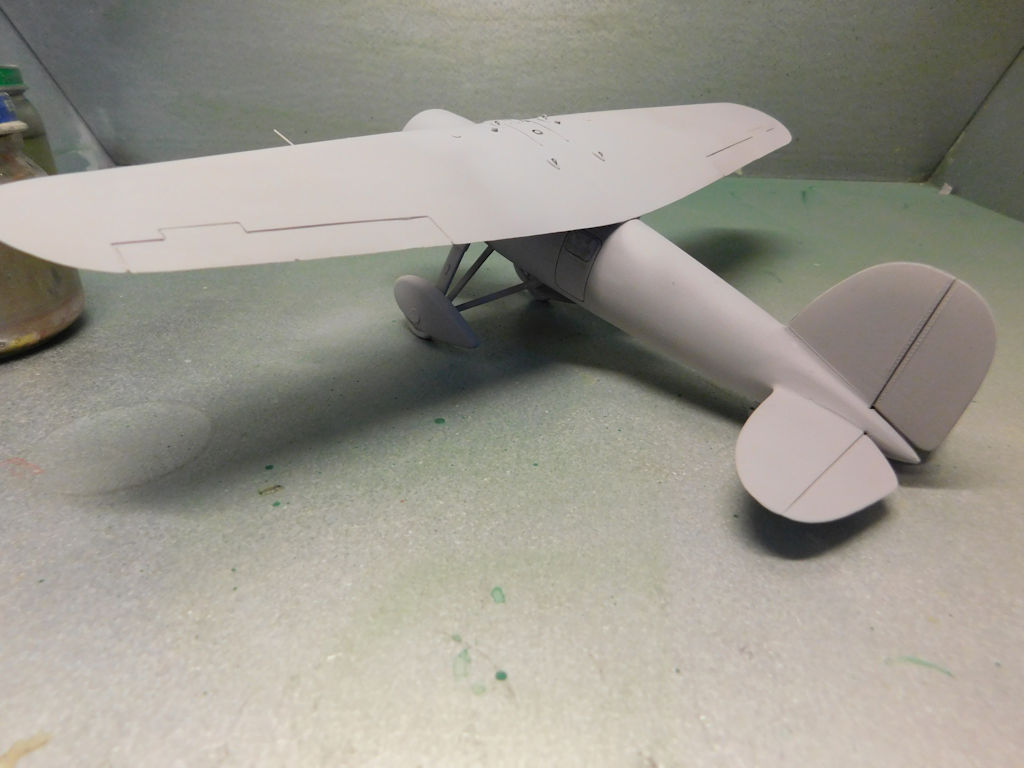
(15) Here are a couple of shots of Earhart’s Vega in primer. I found many spots that needed a bit
more putty and sanding, but I think it’s just about ready for a coat of red. |
 |
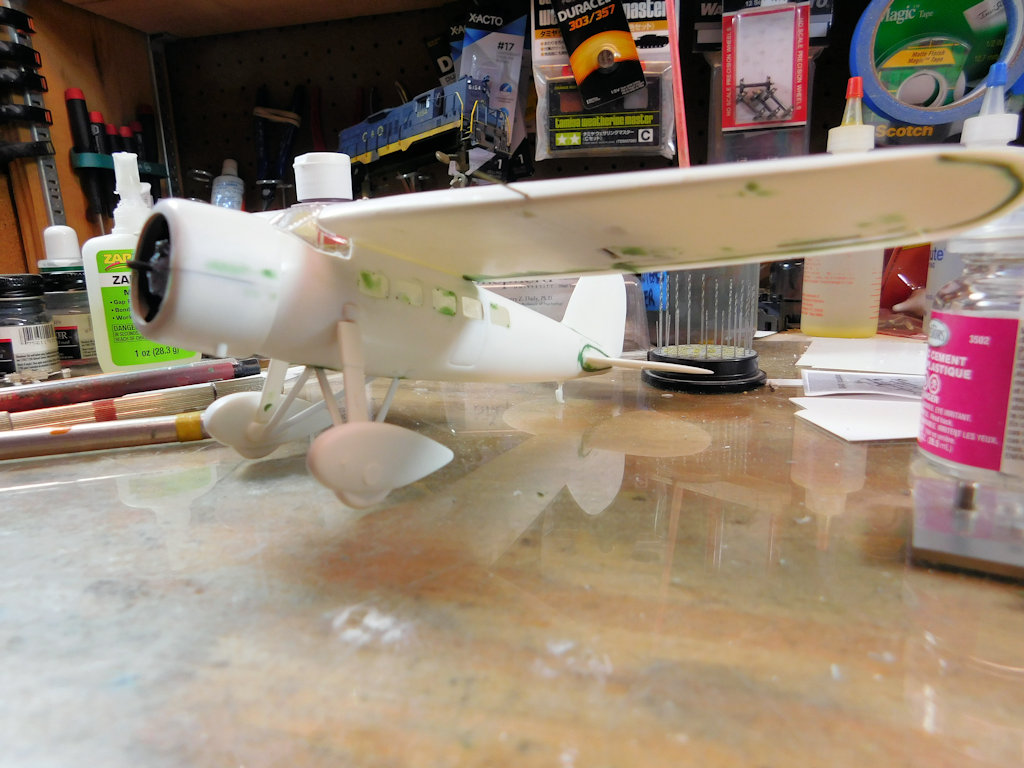
(16) This shot shows off some of the detail I added to the upper surface of the wing. |
 |
(17) It took me longer to get to this point than I planned. In the process of trying to polish out some
imperfections in the first coat of red paint I managed to polish the landing gear right off the model. Since I had to
build new landing gear anyway, I decided to try and incorporate the Lindberg wheels and pants. They’re made up
of three separate parts (a wheel and left and right halves of the pants) while the AMT wheels and pants are molded together
as two parts (left half of the wheel and pant and right half of the wheel and pant). Next up: a coat of Future and
the decals. |
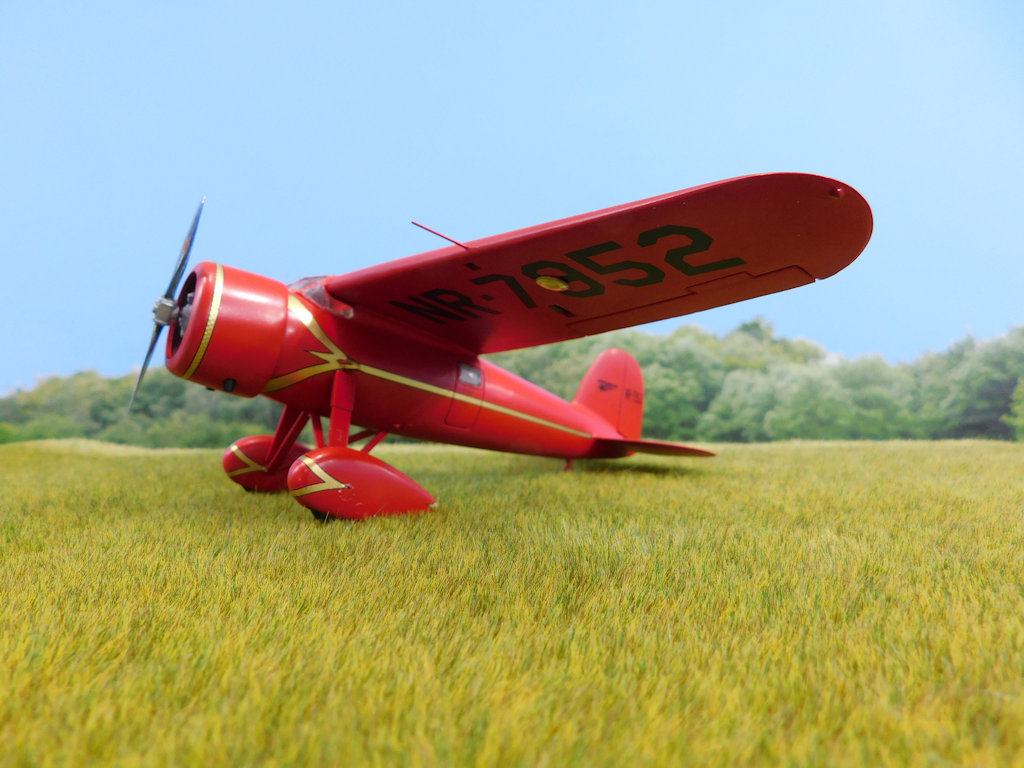 |
(18) The Red Pegasus decals were a joy to work with; I just wish that I had a better model to put them on. For
instance, the fairings at the top of the main landing gear struts are way too big, a fact that I overlooked until I was trying
to put decals over them. |
 |
(19) One of the venturis is from the Lindberg kit; the other from a Quickboost set intended
for another kit. I matched the MV Products lenses that I used for the landing lights to the one molded on the
Lindberg kit. After adding the decals and seeing the parts in comparsion, they’re a bit too big. |
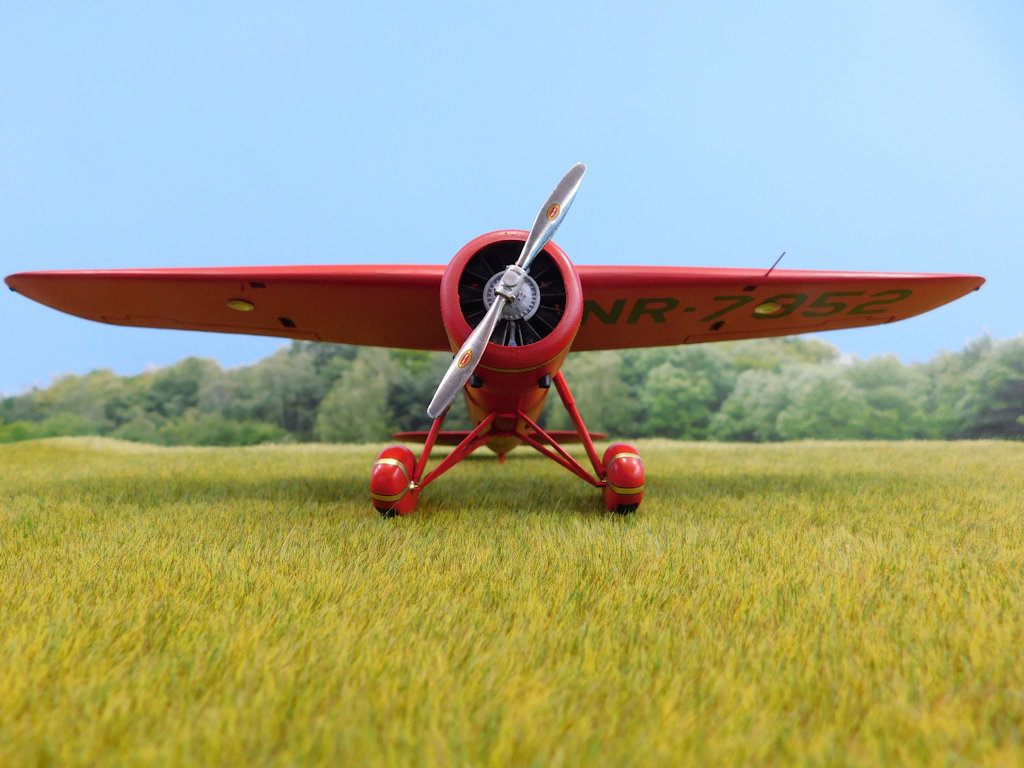 |
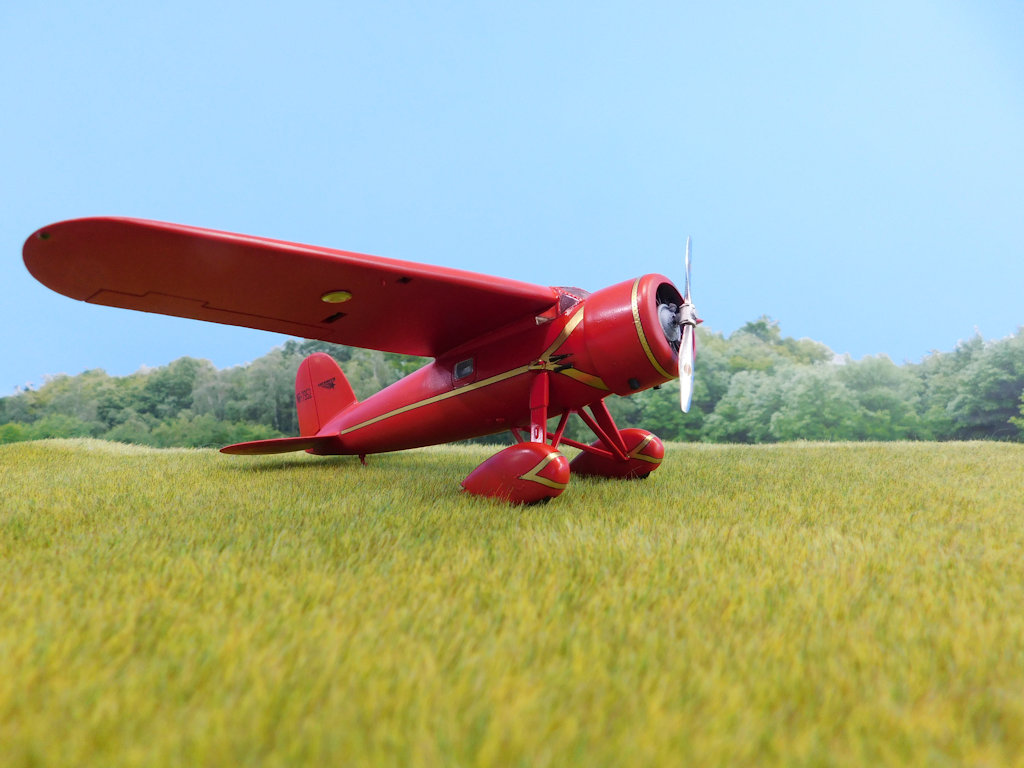
(20) The prop is from a Monogram AT-6 and looks a lot more like the prototype than the prop
included in either the AMT or Lindberg kits. |
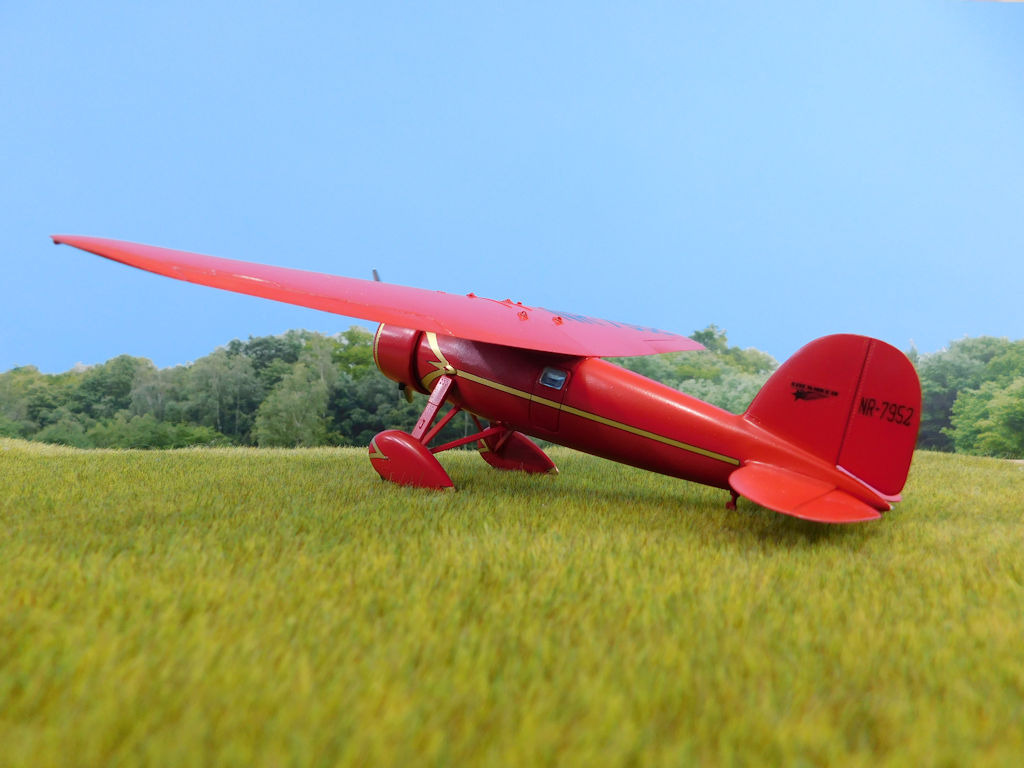 |
(21) At this point, I’m going to call this build complete. There are still a few things that
I might add. Among those are windshield wipers. I’m exploring modifying HO scale locomotive wipers, but we’ll see.
Despite the flaws, I think the model came out pretty well. It sure stands out amongst the Mustangs in my collection. |
You can reach Larry at:
Larry Z. Daily.
Visit Larry’s page on Amazon: Amazon Author Page